
|
|
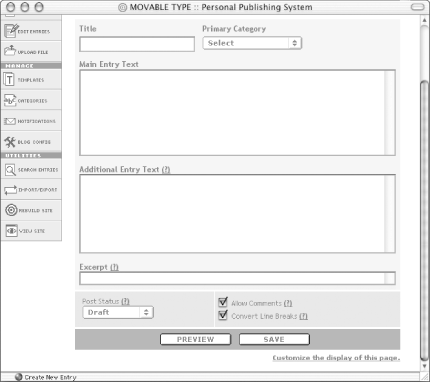
5.4 Creating a New EntryNow that your blog is configured, you are ready to post an entry. In the lefthand navigation bar, click New Entry. The New Entry screen (Figure 5-16) that pops up lets you create a new entry. Figure 5-16. New entry page There are several fields on the screen:
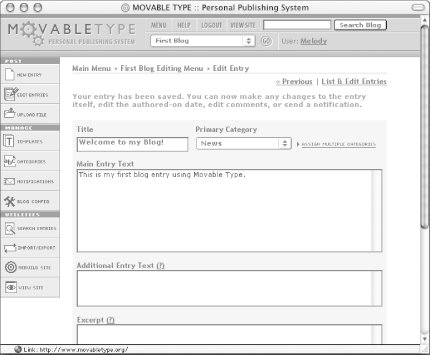
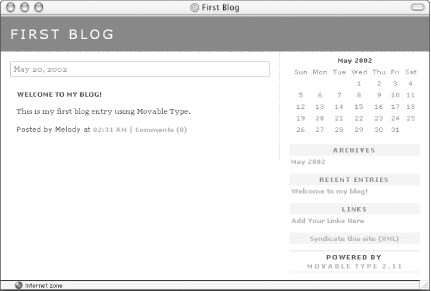
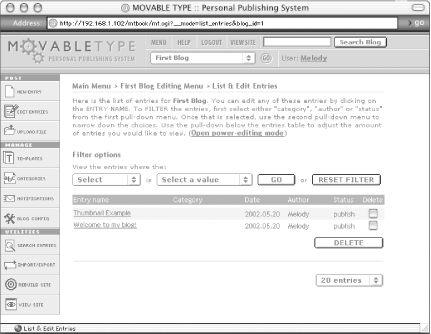
You do not have to fill in the Additional Entry Text and Excerpt boxes. And in fact, if you do not want them to appear on this page, you can make them disappear. See Chapter 8 for more details. Fill in the Main Entry Text with the body of the entry, type in an appropriate title into the Title box, and select Publish from the Post Status. Then click the Save button. The system should now tell you that your entry has been saved successfully (Figure 5-17). Figure 5-17. Successfully saved entry If, instead, you see an error message, you should check the paths that you entered as your Local Site Path and Local Archive Path. To view your new entry, click the View Site button. After doing so you, see the entry that you posted is styled using the default templates that come with the system (Figure 5-18). For information on modifying the default templates, see Chapter 8. Figure 5-18. Blog with new entry Now you have created your first entry. But suppose that you did not preview it first, and you made a spelling mistake, or you realized that one of your links was incorrect. To edit an existing entry, click the Edit Entries link in the lefthand navigation bar, find the entry you wish to edit in the list on the List & Edit Entries screen (Figure 5-19), then click on the entry title to edit the entry. The entry-editing screen looks much like the new entry screen, but with some additional sections to edit comments and to send notifications regarding the entry. Once you have edited the entry to your satisfaction, press Save to save and rebuild the entry. Figure 5-19. List & Edit entries screen If you are so unhappy with an entry that you decide you would rather delete it, press the Delete Entry button to delete an entry. Or, if you would rather, you can delete an entry directly from the List & Edit Entries screen by clicking the checkbox next to it and pressing the Delete button at the bottom of the page. |

|
|