 |  |

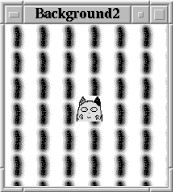
Like the -background color option, most widgets support a -tile option, as shown in Figure 17-18.
A tile is an image, typically small, patterned repeatedly across and down the widget. If a widget has both a -background and -tile option, the tile is applied over the background color, hence it takes precedence. Currently, the Button, Canvas, Checkbutton, Entry, Frame, Label, Listbox, MainWindow, Menu, Menubutton, Message, Radiobutton, Scale, Scrollbar, Text, and Toplevel widgets support the -tile option. Here are the common tile-related widget options:
We can think of the Canvas as having various layers. The lowest is the green background that is obscured by the tile layer. On top of these two layers is a single Canvas image item: a picture of the neko.
my $icon = $mw->Photo(-file=>'images/Icon.xpm');
my $tile = $mw->Photo(-file=>'images/tile.png');

my $c1 = $mw->Canvas(
    -tile       => $tile,
    -background => 'green',
    qw/-width 200 -height 200/,
);
$c1->pack(-side => 'left');
$c1->createImage(105, 105, -image => $icon);
This code produced Figure 17-19.

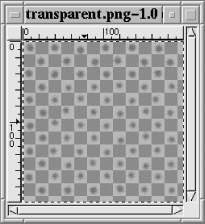
Figure 17-20 shows a GIMP[46] window where a transparent PNG picture is being edited. The picture starts out totally transparent, but we've deposited a lattice of blue dots with a feathered brush tool.
[46] GIMP stands for GNU Image Manipulation Program.

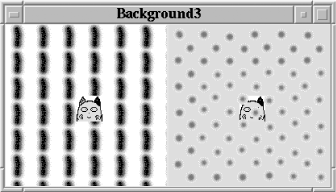
Figure 17-21 shows that if we create a second Canvas similar to the first and add an image item of this transparent PNG file (rather than a tile), we can expect the green Canvas background to show through. Notice that the neko image has been lowered in the Canvas' display list so it's behind the transparent PNG.

Here is the cod that produced Figure 17-21:
my $c2 = $mw->Canvas(
    -background => 'green',
    qw/-width 200 -height 200/,
);
$c2->pack(-side => 'left');
my $trans = $mw->Photo(-file => 'images/transparent.png');
$c2->createImage(105, 105, -image => $trans);
my $neko = $c2->createImage(105, 105, -image => $icon);
$c2->lower($neko);
Copyright © 2002 O'Reilly & Associates. All rights reserved.