| [ Team LiB ] |
|
7.3 EditorsAs I stated earlier, after some time you can become comfortable enough with RDF/XML to read and write the documents manually. But why bother? If you need to manually write an RDF/XML document, you're better off doing so with a specialized RDF editor. 7.3.1 IsaVizOne of the more popular editors is IsaViz, a visual RDF/XML editing tool written in Java. In fact, like so many other RDF/XML tools, it makes use of many of the Jena classes, making Jena the most commonly used API of all (which is why it has its own chapter).
Once you've downloaded and installed IsaViz, you can run it using run.sh on Unix or OS X or run.bat on Windows. Several windows open, each containing a portion of the GUI for the application. Since IsaViz is such a graphical tool, much of this section is going to be pretty pictures, demonstrating different aspects of the tool. IsaViz opens as a new project; you can either manually start creating a new RDF model or import one in either N-Triples format or from RDF/XML. We'll start with importing the test RDF/XML document into the editor, just to see how it works. You can import an existing document by selecting File, and then Import, and then selecting whether to Merge the model into the existing project or Replace it. Since the existing project doesn't have any model elements, I picked Replace and then provided the URL for the RDF/XML document. In a surprisingly short amount of time, IsaViz loaded the model and displayed an RDF graph of it in the graph frame, as shown in Figure 7-4. Figure 7-4. Importing monsters1.rdf RDF/XML document into IsaViz project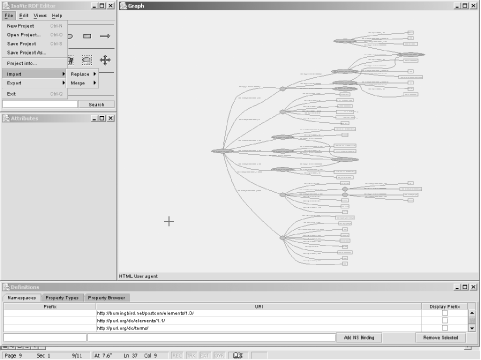 The full view of the model is a bit hard to read, but if you right-click on portions of the model in the Graph frame, the focus changes and the view zooms in so that you can look at the details. Left-clicking on any of the items in the model displays attribute information about the item in the Attributes frame. The complete listing of properties is shown at the bottom, in the Definitions frame. Project and model management is managed in the last frame, the Editor. Clicking on the model, zooming in to the top resource, and left-clicking displays attribute information, as shown in Figure 7-5. Figure 7-5. Attributes for resource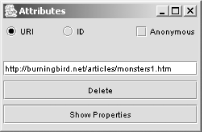 Clicking the Delete button removes the resource from the model, and clicking Show Properties opens another window with a listing of all resource properties, as shown in Figure 7-6. In the picture, the only properties that show are those that belong to the immediate resource. Figure 7-6. Properties for resource The bottom frame window of IsaViz contains three tabbed windows, one showing the namespaces in the model, one showing the property types, and one showing the properties for the selected resource. You don't have to click on the resource within the graph to select it—you can also use the Edit menu in the IsaViz Editor window and search for a specific resource or object value. You can zoom in on the model, by clicking the Shift key and then right-clicking in the model and dragging to the top to zoom in and to the bottom to zoom out. Holding the Shift key and clicking on a specific item also recenters the window on that item. To move around the model, right-click anywhere on it and drag to the top, bottom, right, or left to move in that direction. If you want to select a portion of the graph, click the Select icon in the IsaViz Editor window and then click on whatever you want to select. If you want to select a resource and all of its predicates, hold the Shift down as you select the item. The selected items are highlighted in a bold outline, as shown in Figure 7-7. Figure 7-7. Selected path within the RDF directed graph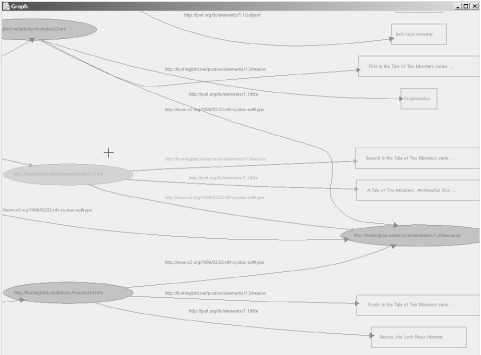 In addition to examining the model, you can also edit or add to it. As stated earlier, delete an item by selecting it and then clicking Delete from the Attributes view. You can add a new resource, property, or literal by clicking on the appropriate item in the IsaViz Editor window, shown in Figure 7-8, and then clicking on the model. A definition window opens, and you can add the URI or value or predicate URI for the item. Figure 7-8. IsaViz Editor window with Resource selected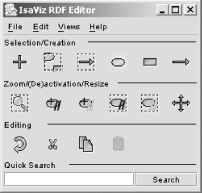 To add a predicate between the subject oval and the object, select the arrow icon, click first on the resource and then on the object—the arc between the nodes is drawn. Once you're all finished with the project, you can save for further edits, or you can export multiple views of it. IsaViz allows you to export an RDF/XML file, an N-Triples file, a PNG graphic, or an SVG graphic. Figure 7-9 shows the directed graph for the article RDF/XML after all but one predicate has been deleted from the top-level resource, exported as a PNG file. Figure 7-9. Exported PNG file of directed graph after modifications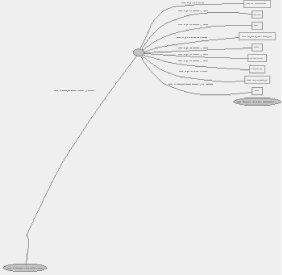 IsaViz is an absolutely essential tool to have if you're working with RDF. 7.3.2 RDF Editor in JavaAs with many other applications and utilities, the RDF Editor in Java (referred to as REJ from this point) derives much of its RDF processing power from Jena. On top of Jena's functionality is a simple, easy-to-use text-based RDF editing tool that's compatible with X11 and Windows.
REJ has a simple interface, which makes it fairly simple to learn how to use. It opens with the RDF/XML-specific tags and namespace already inserted into a blank document. You can continue to add to the model in the page, or you can open an existing model. Just to see how the tool works, I opened the test RDF/XML document. To the right of the document window is a little ruler. If you move the glider, the element selected changes, as shown in Figure 7-10. Figure 7-10. Selecting specific component in RDF/XML document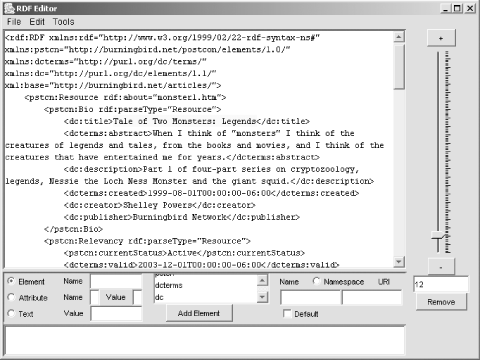 You can also move the selection by clicking the plus (+) button to move up, and the minus (-) button to move the selection down. The element's position relative to the rest of the page is shown in the window below the ruler. Once an element is selected, you can delete it and replace the element. For instance, in Figure 7-10, clicking the Remove button removes the text. Clicking on the Text radio button to the left of the control bar at the bottom sets the page up for accepting a literal. Once the value is entered in the field next to the Text radio button, I click the button next to it, which is now labeled PCDATA, and the text is inserted into the document at that point. You can also add new elements, attributes, namespaces—all using the control bar at the bottom, which changes to fit whatever option you're in, as shown in Figure 7-11. Once you've added the new element, you can then add literals, other elements, and attributes to it. Figure 7-11. Adding a new element to the model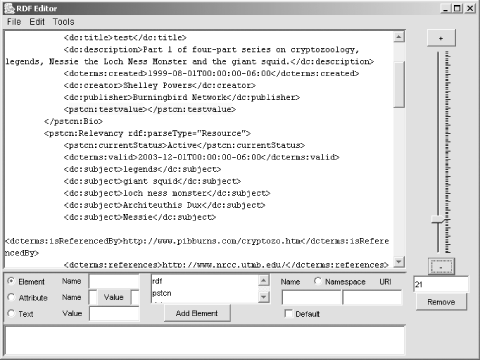 Once you're finished with the model, you can save the RDF/XML document to a new or existing file. You can also generate an N-Triples report from the model by selecting Tools and then selecting the N-Triples Report. The results are printed out in the bottom window and can also be saved. Not a lot of bells and whistles, but REJ is a good choice if you're already comfortable with RDF/XML . |
| [ Team LiB ] |
|